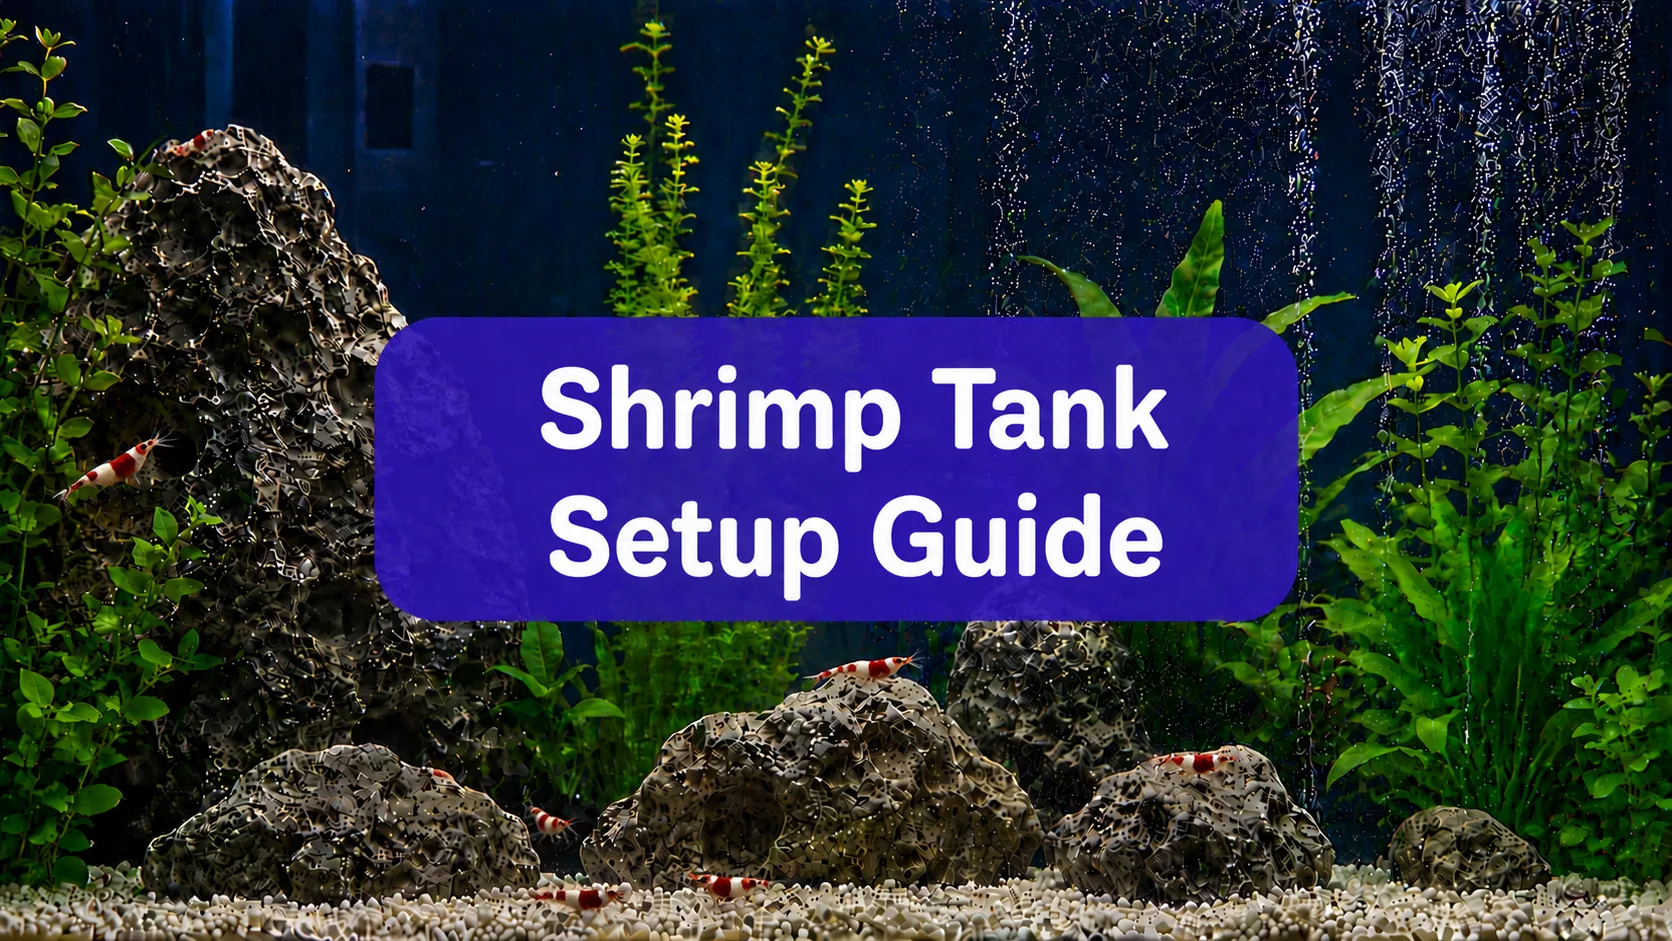
Starting your first shrimp tank is one of the most exciting things you can do in the aquarium hobby. These tiny creatures are not just pretty to look at, they are also fun to watch, easy to care for, and they help keep your tank clean by eating algae and leftover food. Many people think that keeping shrimp is hard, but the truth is that if you set up your tank the right way from the start, you will have a much easier time. The secret is simple: take it slow, be patient, and follow the steps in this guide. Whether you want a small tank on your desk or a bigger one in your living room, this guide will walk you through everything you need to know. By the time you finish reading, you will feel ready to build a beautiful home for your new shrimp friends.
Why Shrimp Make Great Pets
Shrimp are some of the best pets for beginners. They do not need a lot of space, they are peaceful, and they come in amazing colors like bright red, deep blue, sunny yellow, and even green. Watching a group of shrimp graze on plants and driftwood is like having a tiny underwater world right in your home. They also have a very small “bioload,” which means they do not produce much waste. This makes them perfect for smaller tanks and means you do not have to clean as often as you would with fish. Plus, if you take good care of them, your shrimp will breed and your colony will grow, which is incredibly rewarding to watch.
Choosing the Right Tank Size
The first big decision you need to make is what size tank to get. While shrimp are very small and can live in tiny spaces, bigger tanks are actually easier for beginners. A 10-gallon tank is the best choice for most people just starting out. Why? Because larger tanks have more water, and more water means that things like temperature and water chemistry stay more stable. Shrimp are very sensitive to sudden changes, so a stable tank keeps them healthy and happy.
That said, you can start with a 5-gallon tank if you really want something small. Just know that smaller tanks need more careful attention. Anything smaller than 5 gallons is not recommended for beginners because it is very hard to keep the water conditions steady. Remember, your tank will weigh about 10 pounds for every gallon of water once it is filled. So make sure you put it on a strong, sturdy table or stand that can hold the weight.
Picking the Best Shrimp for Beginners
Not all shrimp are the same. Some are tough and easy to keep, while others need very special water conditions. For your first tank, you should choose Neocaridina shrimp – and the most popular kind is the Red Cherry Shrimp. These little guys are hardy, adapt well to different water conditions, and breed easily. They come in many colors too, not just red. You can find blue, yellow, orange, and even green varieties.
On the other hand, Caridina shrimp (like Crystal Red Shrimp or Bee Shrimp) are more delicate and need softer, more acidic water. These are better for people who have some experience. For now, stick with Neocaridina. They are forgiving, active, and beautiful, everything a beginner could want.
The Equipment You Will Need
Before you set up your tank, gather all the equipment first. Here is a simple list of what you need:
- A tank (5 to 10 gallons is best)
- A lid or cover to stop shrimp from jumping out and to reduce water evaporation
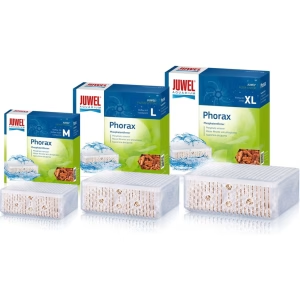
- A sponge filter – this is the safest type for shrimp
- A heater to keep the water warm
- A thermometer to check the water temperature
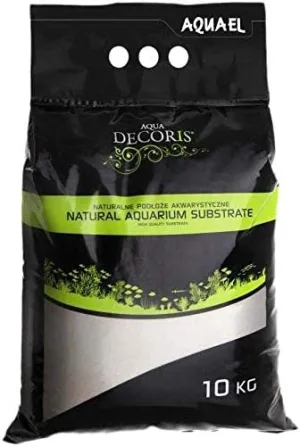
- Substrate (gravel or sand) for the bottom of the tank
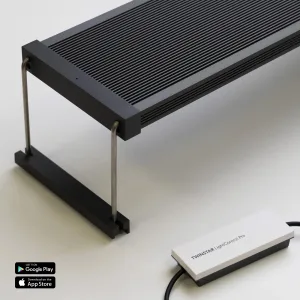
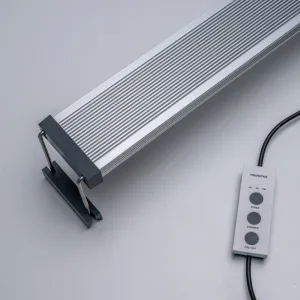
- A light – LED lights work great
- Water conditioner to remove chlorine from tap water
- A test kit to check your water quality
You do not need anything fancy or expensive. Simple equipment works perfectly fine for shrimp.
Setting Up the Substrate
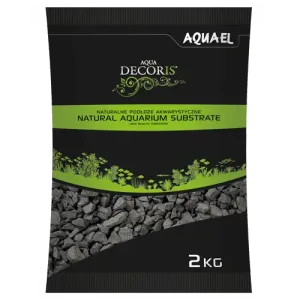
The substrate is the material that goes on the bottom of your tank. For Neocaridina shrimp, you can use regular gravel or sand. Inert substrates, which means they do not change the water chemistry, are a good choice. Put about 2 to 3 inches of substrate on the bottom of the tank. This gives your shrimp a place to forage and gives your plants somewhere to root.
Some people like to use special shrimp soils, but these are more important if you are keeping Caridina shrimp. For beginners with Neocaridina, simple gravel or sand works just fine. Just make sure you rinse it well before putting it in the tank. Put it in a bucket and run water over it until the water runs clear. This stops your tank from getting cloudy.
Adding Hardscape and Decorations
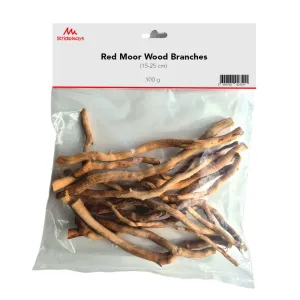
Hardscape means things like rocks and driftwood. These are not just for looks, they give your shrimp places to hide and surfaces to graze on. Shrimp love to eat the biofilm that grows on wood and rocks. Driftwood is especially good because it slowly releases tannins that can help keep your water healthy.
When you place rocks and wood in your tank, make sure they are stable and will not fall over. A falling rock could hurt your shrimp. Also, keep decorations away from the glass so you can easily clean algae off the sides later. You do not need to go overboard, a piece of driftwood and a few smooth rocks are plenty to start with.
Choosing the Right Plants and Creative Ideas for Placement
Live plants are one of the best things you can add to a shrimp tank. They produce oxygen, absorb harmful chemicals like ammonia and nitrates, and give your shrimp places to hide and explore. The best plants for beginners are ones that are easy to grow and do not need special light or fertilizers. Java moss is the number one plant for shrimp tanks. Shrimp love it, they graze on the biofilm that grows on it, hide in its dense tangles, and baby shrimp use it as a safe nursery to grow without being disturbed.
Other great beginner-friendly plants include Anubias, which has thick, tough leaves that shrimp love to sit on. Bucephalandra is another slow-growing plant with beautiful colors that does not need to be planted in the substrate, you can just tie it to rocks or wood. Hornwort is a fast-growing stem plant that floats or roots in the gravel, and it soaks up excess nutrients like a sponge. Floating plants like Salvinia and Frogbit are also fantastic because their dangling roots create a shaded canopy that makes shrimp feel secure, while their leaves help keep the water clean.
Now let us talk about creative ideas for arranging your plants to make your tank look amazing and work well for your shrimp. Think of your tank like a garden with three levels: background, midground, and foreground. Put taller stem plants like Hornwort or Water Wisteria in the back to create a green wall. In the middle, place medium-sized plants like Anubias or Cryptocoryne – these give your shrimp resting spots. In the front, keep things low with a carpet of Dwarf Sagittaria or a patch of Java moss spread flat on the substrate. Another fun idea is to attach Anubias or Bucephalandra directly to your driftwood using super glue (the gel type, safe for aquariums) or fishing line, this mimics how they grow in nature and creates stunning “tree” shapes in your tank.
Do not forget to leave some open swimming space in the middle so you can actually see your shrimp. Also, consider planting in small groups rather than single stems, clusters look more natural and give shrimp dense hiding areas. A good rule is to fill about 40 to 50 percent of your tank volume with plants. This gives enough cover without overcrowding. And remember, the more plants you have, the less algae problems you will face because plants compete with algae for nutrients.
Planting Techniques and Care
When you buy plants, they often come in little pots with rock wool around the roots. Gently remove the rock wool and rinse the roots under tap water before planting. For stem plants like Hornwort, simply push the cut end about an inch into the gravel. For rhizome plants like Anubias and Bucephalandra, never bury the thick horizontal stem (the rhizome), if you cover it, the plant will rot and die. Instead, leave the rhizome above the substrate and only bury the thin roots, or better yet, tie it to wood or stone.
You do not need to add liquid fertilizers or CO2 for the plants we mentioned, they are all low-tech and grow fine with just fish waste and shrimp poop as nutrients. If you do want to use a liquid fertilizer, choose one that is copper-free, because copper is highly toxic to shrimp. Always read the label carefully. Also, give your plants a gentle trim now and then to remove yellow or dying leaves, this keeps the tank looking fresh and prevents decaying matter from polluting the water.
Installing the Filter
The filter is one of the most important parts of your shrimp tank. It keeps the water clean and safe. For shrimp, a sponge filter is the best choice. Sponge filters are gentle, they do not create strong currents that could stress your shrimp. They also provide a great place for beneficial bacteria to grow, which helps keep your water clean.
The other big reason to use a sponge filter is safety. Baby shrimp are tiny and can easily get sucked into other types of filters. A sponge filter has no open intake where shrimp can get trapped. If you use a different type of filter (like a hang-on-back filter), you must put a pre-filter sponge over the intake to protect baby shrimp. Do not skip this step, it could save your baby shrimp from being turned into “shrimp puree”.
Heating the Tank
Shrimp like warm water, but they do not need it super hot. For Neocaridina shrimp, keep the temperature between 72°F and 78°F (22°C to 26°C) . A small heater with a thermostat will keep the temperature steady. Always use a thermometer so you can check the temperature easily.
If your home stays warm all year round, you might not need a heater at all. But for most people, a heater is a good investment. Sudden temperature changes can stress shrimp and even kill them, so keeping the water at a steady temperature is very important.
Lighting the Tank
Shrimp do not need strong light. In fact, too much light can stress them out and make them hide. A simple LED aquarium light is perfect. If you have live plants, the light will help them grow. Keep your light on for about 8 to 10 hours a day. Using a timer makes this easy, just set it and forget it.
The light also helps grow algae and biofilm, which are natural foods for your shrimp. You want some algae in your tank, it is good for shrimp. Just do not leave the light on too long, or you might get too much algae. If you see green spot algae on the glass, that is normal and healthy, just scrape the front glass and leave the back and sides for your shrimp to graze on.
The Nitrogen Cycle, The Most Important Step
This is the part where many beginners make a mistake. You cannot put shrimp in a brand-new tank. Shrimp are very sensitive to ammonia and nitrite, which are toxic chemicals that build up in new tanks. Before you add any shrimp, you must cycle your tank. Cycling means growing beneficial bacteria that turn harmful ammonia into safer nitrates.
The cycling process usually takes 4 to 8 weeks. Here is how to do it:
- Fill your tank with water and add water conditioner to remove chlorine.
- Turn on your filter and heater.
- Add a small amount of fish food or pure ammonia to the water.
- Wait and test your water regularly.
You will see ammonia levels go up first. Then nitrite levels will rise. Finally, nitrate levels will appear, and ammonia and nitrite will drop to zero. Your tank is cycled when ammonia is 0 ppm, nitrite is 0 ppm, and you have some nitrates. Be patient, this takes time. Do not rush it. Your shrimp will thank you. During this cycling period, your plants will also start establishing their root systems and growing, which is perfect because they will help absorb those nitrates once the cycle finishes.
Some people say you should let your tank run for even longer, up to three months, to build up plenty of biofilm for shrimp to eat. The more established your tank is, the better your shrimp will do. You will notice a slight brownish dust on the glass and wood, that is diatom algae, and it is a sign that your tank is maturing and ready for shrimp.
Testing Your Water
You need to test your water regularly to make sure it is safe. Get a liquid test kit that checks for ammonia, nitrite, nitrate, pH, GH, and KH. Test strips are okay, but liquid kits are more accurate.
Here are the water parameters you should aim for with Neocaridina shrimp:
| Parameter | Ideal Range |
|---|---|
| Temperature | 72–78°F (22–26°C) |
| pH | 6.5–8.0 |
| GH (General Hardness) | 4–8 dGH |
| KH (Carbonate Hardness) | 3–15 dKH |
| Ammonia | 0 ppm |
| Nitrite | 0 ppm |
| Nitrate | Below 20 ppm |
The most important rule is stability. Shrimp can handle a range of conditions, but they cannot handle sudden changes. Keep your water parameters steady, and your shrimp will thrive.
Adding Your Shrimp
Once your tank is fully cycled, it is time to add your shrimp. But do not just dump them in, you need to acclimate them slowly. Shrimp are very sensitive to changes in water chemistry, and sudden changes can kill them.
The best way is the drip acclimation method. Here is how it works:
- Put your shrimp and the water they came in into a clean bucket or container.
- Use airline tubing to start a siphon from your tank to the bucket.
- Tie a knot in the tubing or use a valve so water drips out slowly, about 1 to 2 drops per second.
- Let this run until the water in the bucket has doubled in volume.
- Remove half the water from the bucket and let it drip again.
- Repeat this process for about 1 to 2 hours.
After acclimation, gently net your shrimp out of the bucket and put them into your tank. Do not pour the bucket water into your tank, it could contain things you do not want.
Start with about 10 to 15 shrimp. This gives you a good mix of males and females and a healthy starting colony. It also means if a few do not make it (which can happen), you still have enough to start breeding.
Feeding Your Shrimp
One of the best things about shrimp is that they do not need much food. They spend most of their time grazing on biofilm, algae, and tiny organisms in the tank. In a well-established tank with plenty of plants, they can get a lot of their food just from grazing on leaf surfaces and driftwood.
But you should still feed them to keep them healthy and help them breed. Good foods include:
- Shrimp-specific pellets – these have the right nutrients and minerals
- Blanched vegetables – like zucchini, spinach, or cucumber (boil them for a minute first to soften them, then drop in a small slice)
- Mineral supplements – to help them build strong shells
Feed only a tiny amount – what your shrimp can eat in a couple of hours. Overfeeding is a common mistake. Uneaten food rots and makes your water dirty, which can hurt your shrimp. Feed them 2 to 3 times a week. It is better to feed too little than too much. Remove any leftover vegetables after 24 hours so they do not spoil.
Keeping Up with Maintenance
A shrimp tank does not need a lot of work, but you do need to do some regular maintenance. The most important thing is water changes. Change about 10 to 20 percent of the water every week. Use a siphon to gently remove water from the bottom of the tank, being careful not to suck up any shrimp.
When you add new water, make sure it is the same temperature as the tank water and treat it with water conditioner to remove chlorine. Never use hot or cold water straight from the tap, let it sit until it reaches room temperature, or use a thermometer to match the temperature. During water changes, you can also gently trim any overgrown plants and remove dead leaves to keep things tidy.
You should also clean your sponge filter every now and then. Squeeze it gently in a bucket of old tank water (not tap water) to remove dirt. Tap water will kill the beneficial bacteria living in the sponge. Rinse your sponge every 2 to 3 weeks, but only when you notice the water flow slowing down.
Watching for Molting
Shrimp grow by shedding their old shell and growing a new one. This is called molting. You will sometimes see empty shrimp shells in your tank, do not panic! This is a good sign that your shrimp are growing. They often eat their old shell to recycle the minerals, so leave it in the tank if you see it.
After molting, shrimp are very soft and vulnerable for a few days. They need minerals in the water to build their new shell. If your water is too soft, shrimp can have trouble molting and may die. That is why having the right GH and KH is important. You can add mineral supplements or crushed coral to help. Also, make sure your plants are healthy because they help keep the water stable, which reduces stress during the molting process.
Common Mistakes to Avoid
Here are some mistakes beginners often make:
Adding shrimp too soon. Your tank must be cycled first. This takes weeks, not days. Be patient.
Overfeeding. Shrimp are tiny and do not eat much. Too much food equals dirty water and can cause dangerous ammonia spikes.
Big water changes. Changing too much water at once changes the water chemistry too fast. Stick to small, regular changes.
Not testing water. You cannot tell if your water is safe just by looking at it. Test regularly, especially in the first few months.
Not acclimating shrimp. Dumping shrimp straight into your tank is a fast way to kill them. Always use the drip method.
Ignoring plant health. Dying or rotting plants release ammonia and can harm your shrimp. Trim dead leaves and remove any plants that are melting.
Conclusion
Setting up your first shrimp tank is a journey, not a race. The key to success is patience and preparation. Take your time choosing your equipment, setting up your hardscape, and picking the right plant combinations, the creative ideas you put into your aquascape will not only make the tank beautiful but will also give your shrimp the perfect home. Most importantly, never rush the cycling process. Rushing any of these steps can lead to problems, but if you follow this guide step by step, you will give your shrimp the best possible start.
Remember the golden rule of shrimp keeping: stability over perfection. Your water parameters do not have to be exactly perfect, they just need to be steady. Sudden changes are what hurt shrimp. Keep things consistent, and your shrimp will reward you with active behavior, bright colors, and a growing colony. Your plants will flourish, your tank will look like a tiny piece of nature, and every day you will discover new details as your shrimp explore every leaf and branch.
Watching your shrimp explore their new home, graze on plant leaves, and eventually carry eggs is one of the most satisfying experiences in the aquarium hobby. These little creatures have big personalities, and once you start keeping them, you might find it hard to stop. So take a deep breath, be patient, and enjoy the process. Your shrimp tank adventure is just beginning.