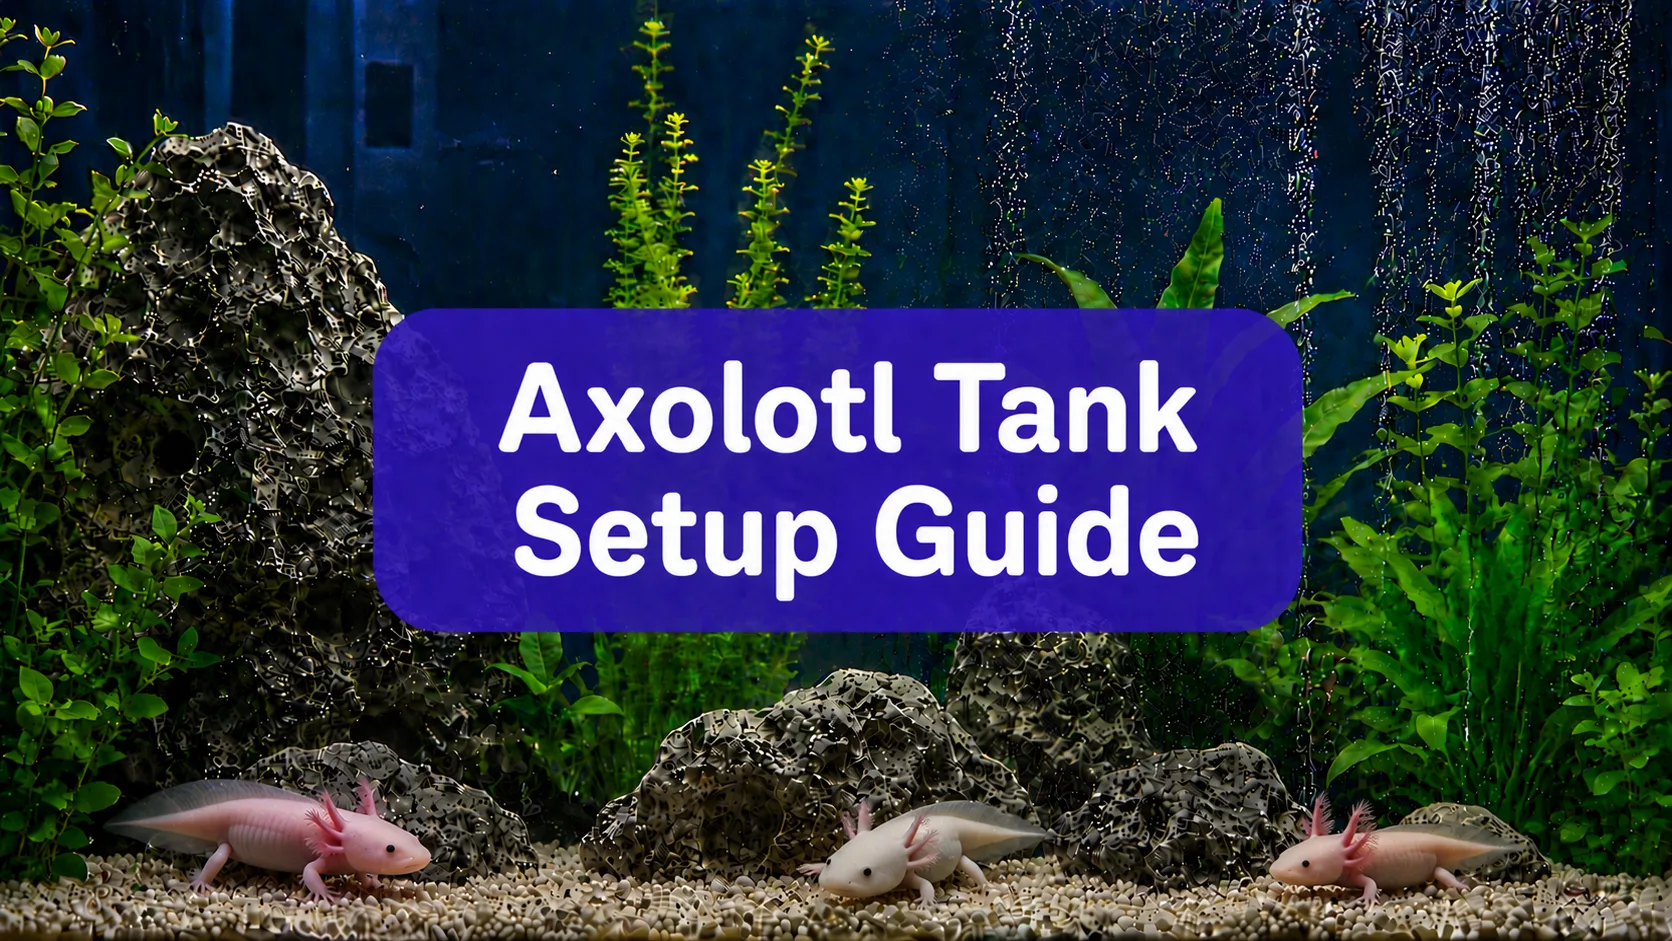
Bringing an axolotl home is an exciting adventure. These unique amphibians, with their feathery gills and permanent smiles, make fascinating pets. But before you bring your new friend home, you need to get their house ready. An axolotl’s home is not just a tank of water; it’s their whole world. Getting the setup right from the start is the most important thing you can do to ensure your axolotl lives a long, healthy, and happy life. In this guide we will walk you through every step of setting up the perfect axolotl tank. We’ll cover everything from picking the right tank size to understanding water chemistry. By the end, you’ll have the knowledge and confidence to create a safe, comfortable, and thriving home for your new pet.
Why the Right Tank Setup is So Important
Axolotls are not like goldfish or bettas. They are cold-water amphibians with very specific needs. They are also quite messy, which means they produce a lot of waste. In the wild, they live in cool, clean, and slow-moving water. If their tank doesn’t match these conditions, they can get stressed and sick very quickly. A bad setup is the number one reason new axolotl owners run into trouble. But don’t worry, setting up a tank the right way isn’t hard. It just requires a little planning and patience. Think of it like building a house. You need a strong foundation, the right materials, and a good plan. Once the house is built, it’s easy to live in. It’s the same with an axolotl tank. Get the setup right, and the daily care becomes simple.
Choosing Your Tank and Equipment
Tank Size and Shape
When it comes to an axolotl tank, bigger is always better. The minimum size for one adult axolotl is a 20-gallon long tank. Many experts and experienced owners strongly recommend a 29-gallon or a 40-gallon breeder tank as the best starting point. A bigger tank might cost more upfront, but it makes keeping the water clean and stable much easier. More water means that waste products get diluted more, giving you a bigger safety net if you make a small mistake.
The shape of the tank matters just as much as the size. Axolotls are bottom-dwellers. They prefer to walk along the floor of their tank rather than swim up and down. So, a “long” tank with a large floor space is much better than a tall, narrow one. For example, a 40-gallon breeder tank is wide and shallow, which gives your axolotl plenty of room to roam. A good rule of thumb is to allow at least 10 extra gallons of water for each additional axolotl you plan to keep.
Filtration: Keeping the Water Clean
Axolotls are messy eaters and produce a lot of waste. This means you need a good filter to keep the water clean and safe. However, axolotls also have delicate gills and are stressed by strong water currents. The best filter for a beginner is a sponge filter powered by an air pump. Sponge filters are great because they provide gentle, bubble-driven flow and are very safe. Your axolotl’s gills or limbs can’t get stuck in them. For larger tanks or if you have more than one axolotl, a canister filter with a spray bar is a good upgrade. The spray bar spreads the water return out, softening the flow. If you use a hang-on-back (HOB) filter, you must “baffle” the outflow. You can do this by placing a piece of sponge or filter floss over the output to break up the strong current. Remember, the goal is to clean the water without creating a river in your tank.
Other Essential Equipment
Besides a tank and filter, you’ll need a few other essential items:
- A Secure Lid: Axolotls are known to jump out of their tanks. A tight-fitting lid with a small gap for airflow is a must to prevent escapes.
- A Thermometer: You need to know the water temperature at all times. A digital aquarium thermometer with a probe is the most accurate.
- A Liquid Test Kit: This is non-negotiable. Test strips are not accurate enough. You need a liquid test kit (like the API Freshwater Master Test Kit) that tests for ammonia, nitrite, nitrate, and pH. You’ll use this a lot, especially in the beginning.
- A Dechlorinator (Water Conditioner): Tap water contains chlorine and chloramine, which are toxic to axolotls. You must use a water conditioner like Seachem Prime to remove these chemicals every time you add water to the tank.
- A Cooling Plan: Axolotls need cold water. If your room temperature gets above 72°F (22°C) at any point, you will need a way to cool the tank down. This can be a clip-on fan that blows across the water’s surface or an aquarium chiller for more reliable cooling.
Substrate and Decor: Building a Safe Home
Substrate: What to Put on the Bottom
The bottom of your tank, or “substrate,” is a big deal for axolotls. They eat by sucking food into their mouths, and they can accidentally swallow small pieces of gravel or sand. This can lead to a dangerous blockage called “impaction.” For this reason, gravel is a big no-no for axolotl tanks.
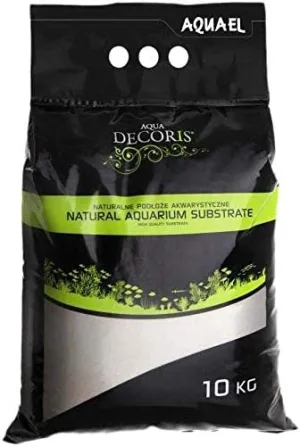
The best and safest choice for beginners is a bare-bottom tank. It’s the easiest to clean and there’s zero risk of impaction. If you want a more natural look, you can use very fine sand. The sand grains must be small enough that if your axolotl swallows them, they will pass through harmlessly. Play sand or aquarium sand labeled as “super fine” or “soft” are good options. Another safe and attractive option is to use large, flat stones or tiles to cover the bottom. Just make sure the stones are much bigger than your axolotl’s head so they can’t be swallowed.
Decorations and Hiding Spots
Axolotls are shy, nocturnal animals. They feel safe and secure when they have places to hide. Hides are not just decorations; they are a necessity. You should have at least one hide for every axolotl in the tank. Good options include:
- PVC pipe sections cut to size
- Ceramic aquarium caves
- Smooth-edged terracotta pots (with the bottom hole plugged)
When choosing any decoration, safety is key. Make sure everything is smooth with no sharp edges that could cut your axolotl’s delicate skin. Avoid small decorations that could be swallowed. Also, consider adding a hammock for your axolotl to rest on near the surface, as they sometimes like to hang out near the top of the water.
Adding Live Plants
Live plants are a fantastic addition to an axolotl tank. They help absorb waste products like ammonia and nitrates, which keeps the water cleaner. They also provide extra hiding spots and make the tank look beautiful. However, because axolotls need cold water and low light, you can’t use just any plant. Here are some of the best, easiest plants for axolotl tanks:
- Java Fern: This is the perfect beginner plant. It’s tough, doesn’t need much light, and you don’t plant it in the substrate. Instead, you attach it to rocks or driftwood with aquarium-safe glue.
- Anubias: Like Java Fern, Anubias is incredibly hardy and low-light. It also grows by attaching to rocks or wood.
- Java Moss: This is a great, soft plant that creates a nice carpet or can be attached to decorations. Axolotls often like to rest on it.
- Hornwort: This plant is a floating plant that grows very fast and is amazing at absorbing waste. Just let it float at the top of the tank.
Remember, you should never use plant fertilizers or CO2 systems in an axolotl tank, as the chemicals can be harmful. The plants will get all the nutrients they need from your axolotl’s waste!
The Nitrogen Cycle: The Most Important Step
This is the single most important part of setting up your tank, and it’s where many beginners go wrong. You cannot put an axolotl in a new tank. A new tank is not safe for them. It’s full of toxic chemicals. The “nitrogen cycle” is the process of growing beneficial bacteria in your filter and tank that turn toxic waste into less harmful substances. This process takes time – usually 4 to 8 weeks.
Here’s a simple way to understand it:
- Your axolotl produces waste, which creates ammonia. Ammonia is very toxic.
- One type of bacteria grows and eats the ammonia, turning it into nitrite. Nitrite is also toxic.
- A second type of bacteria grows and eats the nitrite, turning it into nitrate. Nitrate is much less toxic.
- You remove the nitrates by doing regular water changes.
To start the cycle, you need to add a source of ammonia to the tank without any axolotl in it. This is called “fishless cycling“. You can use pure, unscented household ammonia or a product like Dr. Tim’s Ammonium Chloride. You’ll add a few drops to get the ammonia level to around 2-3 parts per million (ppm). Then, you test the water every day with your liquid test kit. At first, nothing will happen. But after a week or two, you’ll see the ammonia level start to drop. As it drops, you’ll see the nitrite level start to rise. This means the first type of bacteria is growing! Keep adding a small amount of ammonia whenever it drops to zero. Over the next few weeks, the nitrite level will eventually start to drop as the second type of bacteria grows. When you see nitrates appear, you’re close to the finish line. The cycle is complete when you can add ammonia, and within 24 hours, both the ammonia and nitrite levels read 0 ppm, and you have nitrates.
Once your tank is fully cycled, do a large water change (about 70%) to lower the nitrates. Now, and only now, is your tank safe for your new axolotl.
Water Parameters: Keeping the Chemistry Just Right
Once your tank is cycled, you need to keep the water chemistry stable. Axolotls are sensitive to changes. Here are the ideal numbers to aim for:
- Temperature: 60-68°F (16-20°C). This is the most critical parameter. Temperatures above 72°F (22°C) are dangerous.
- pH: 6.5 to 8.0. Stability is more important than the exact number.
- Ammonia: 0 ppm. This should always be zero.
- Nitrite: 0 ppm. This should also always be zero.
- Nitrate: Under 20 ppm. You will remove nitrates with your weekly water changes.
Weekly Maintenance and Feeding
Routine Care
Keeping your axolotl healthy is all about routine. Here is a simple weekly schedule:
- Weekly: Test your water for ammonia, nitrite, nitrate, and pH. Do a 20-30% water change using a siphon to clean the bottom of the tank and remove any waste. Always treat the new water with dechlorinator before adding it to the tank. Use a turkey baster to spot-clean any large pieces of waste you see between water changes.
- Daily: Check the water temperature. Offer food and remove any uneaten food after about 15-20 minutes to prevent it from rotting and polluting the water. Also, give your filter a gentle squeeze in a bucket of old tank water (never tap water!) once a month to clean it out.
Feeding Your Axolotl
Axolotls are carnivores and need a diet high in protein. The best staple food is earthworms (nightcrawlers). You can also feed them axolotl pellets as a good supplement. Other treats can include bloodworms and brine shrimp. Feed your adult axolotl every 2-3 days, offering as much as they will eat in a few minutes. Baby axolotls (under 6 inches) need to be fed every day.
Conclusion
Setting up an axolotl tank might seem like a lot of work at first, but it’s a labor of love. By taking the time to do it right from the start, you are giving your new pet the best possible chance at a long and happy life. Remember the golden rules: big tank, cold water, gentle filter, safe substrate, and a fully cycled tank. Patience is your best friend during the cycling process. Don’t rush it. Once your tank is stable and your axolotl is settled in, you’ll find that the daily and weekly care becomes a simple, rewarding routine. You’ll soon be rewarded with hours of entertainment watching your quirky, smiling companion explore its new home. Welcome to the wonderful world of axolotl keeping!